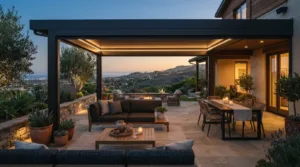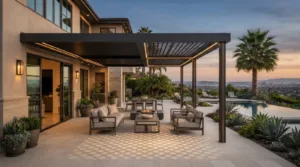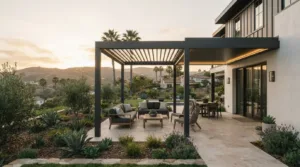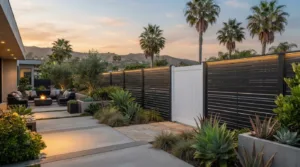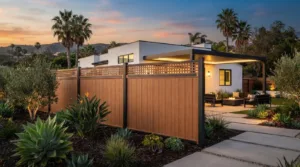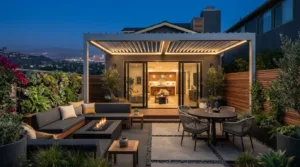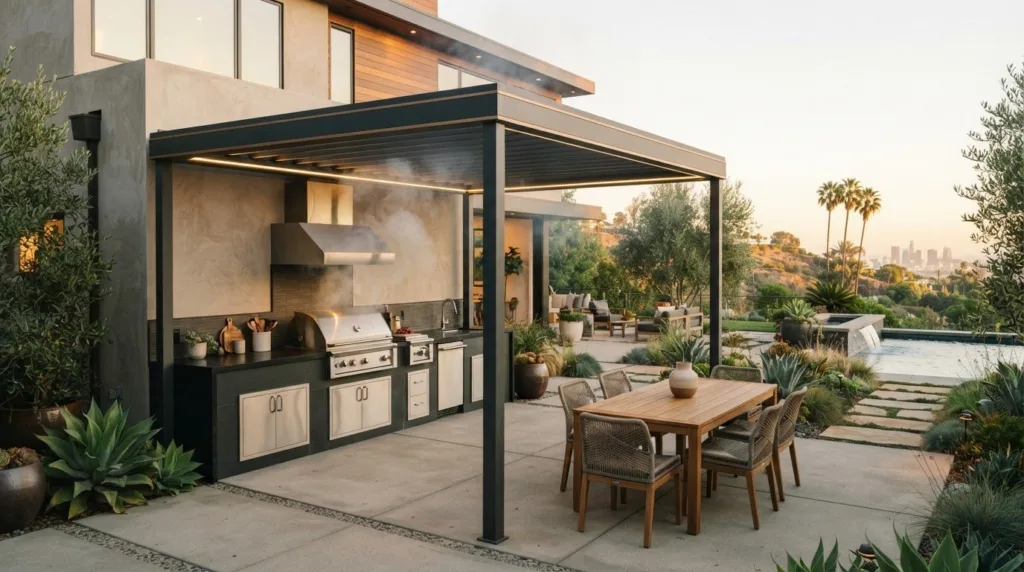
Shade alone isn’t enough: an outdoor kitchen patio cover in Los Angeles should shelter the cook, guests, and walkways while preserving the grill’s required clearance and ventilation. Plan its depth and position around the kitchen layout and late-afternoon sun, then choose a roof style that suits how you use the space.
A comfortable patio should work throughout the day, not just during cooler morning hours. West- and southwest-facing kitchens often need more overhead and side shade, while an oversized or poorly positioned cover can crowd the patio, block views, or reduce indoor daylight.
This guide explains how to map shade across cooking and dining areas, compare fixed and insulated roof options, and plan for grill clearance and airflow. You’ll also learn how installation considerations shape the finished design, helping you make a practical, polished choice for your home.
Key Takeaways
- Map where the cook, guests, and connecting walkways need shade, accounting for late-afternoon sun and the patio’s orientation.
- Choose a cover depth and position that shade the kitchen without crowding the patio, blocking views, or reducing indoor daylight.
- Compare fixed and insulated roof options according to the comfort and coverage you want for your outdoor kitchen.
- Plan grill clearance and ventilation so heat and smoke can move freely beneath the cover.
- Align sizing and installation with the kitchen layout to create a cohesive, functional outdoor space.
Custom sizing and professional installation
Outdoor kitchen and patio-cover contractors in Los Angeles include outdoor-living specialists, cover installers, and general contractors who coordinate multiple trades. Compare written quotes by matching scope, dimensions, materials, structural work, and installation details, rather than looking at totals alone.
Gas, electrical, or plumbing changes may require permits under applicable Los Angeles requirements. The work’s scope and affected connections determine which approvals apply, so identify those details before scheduling installation.
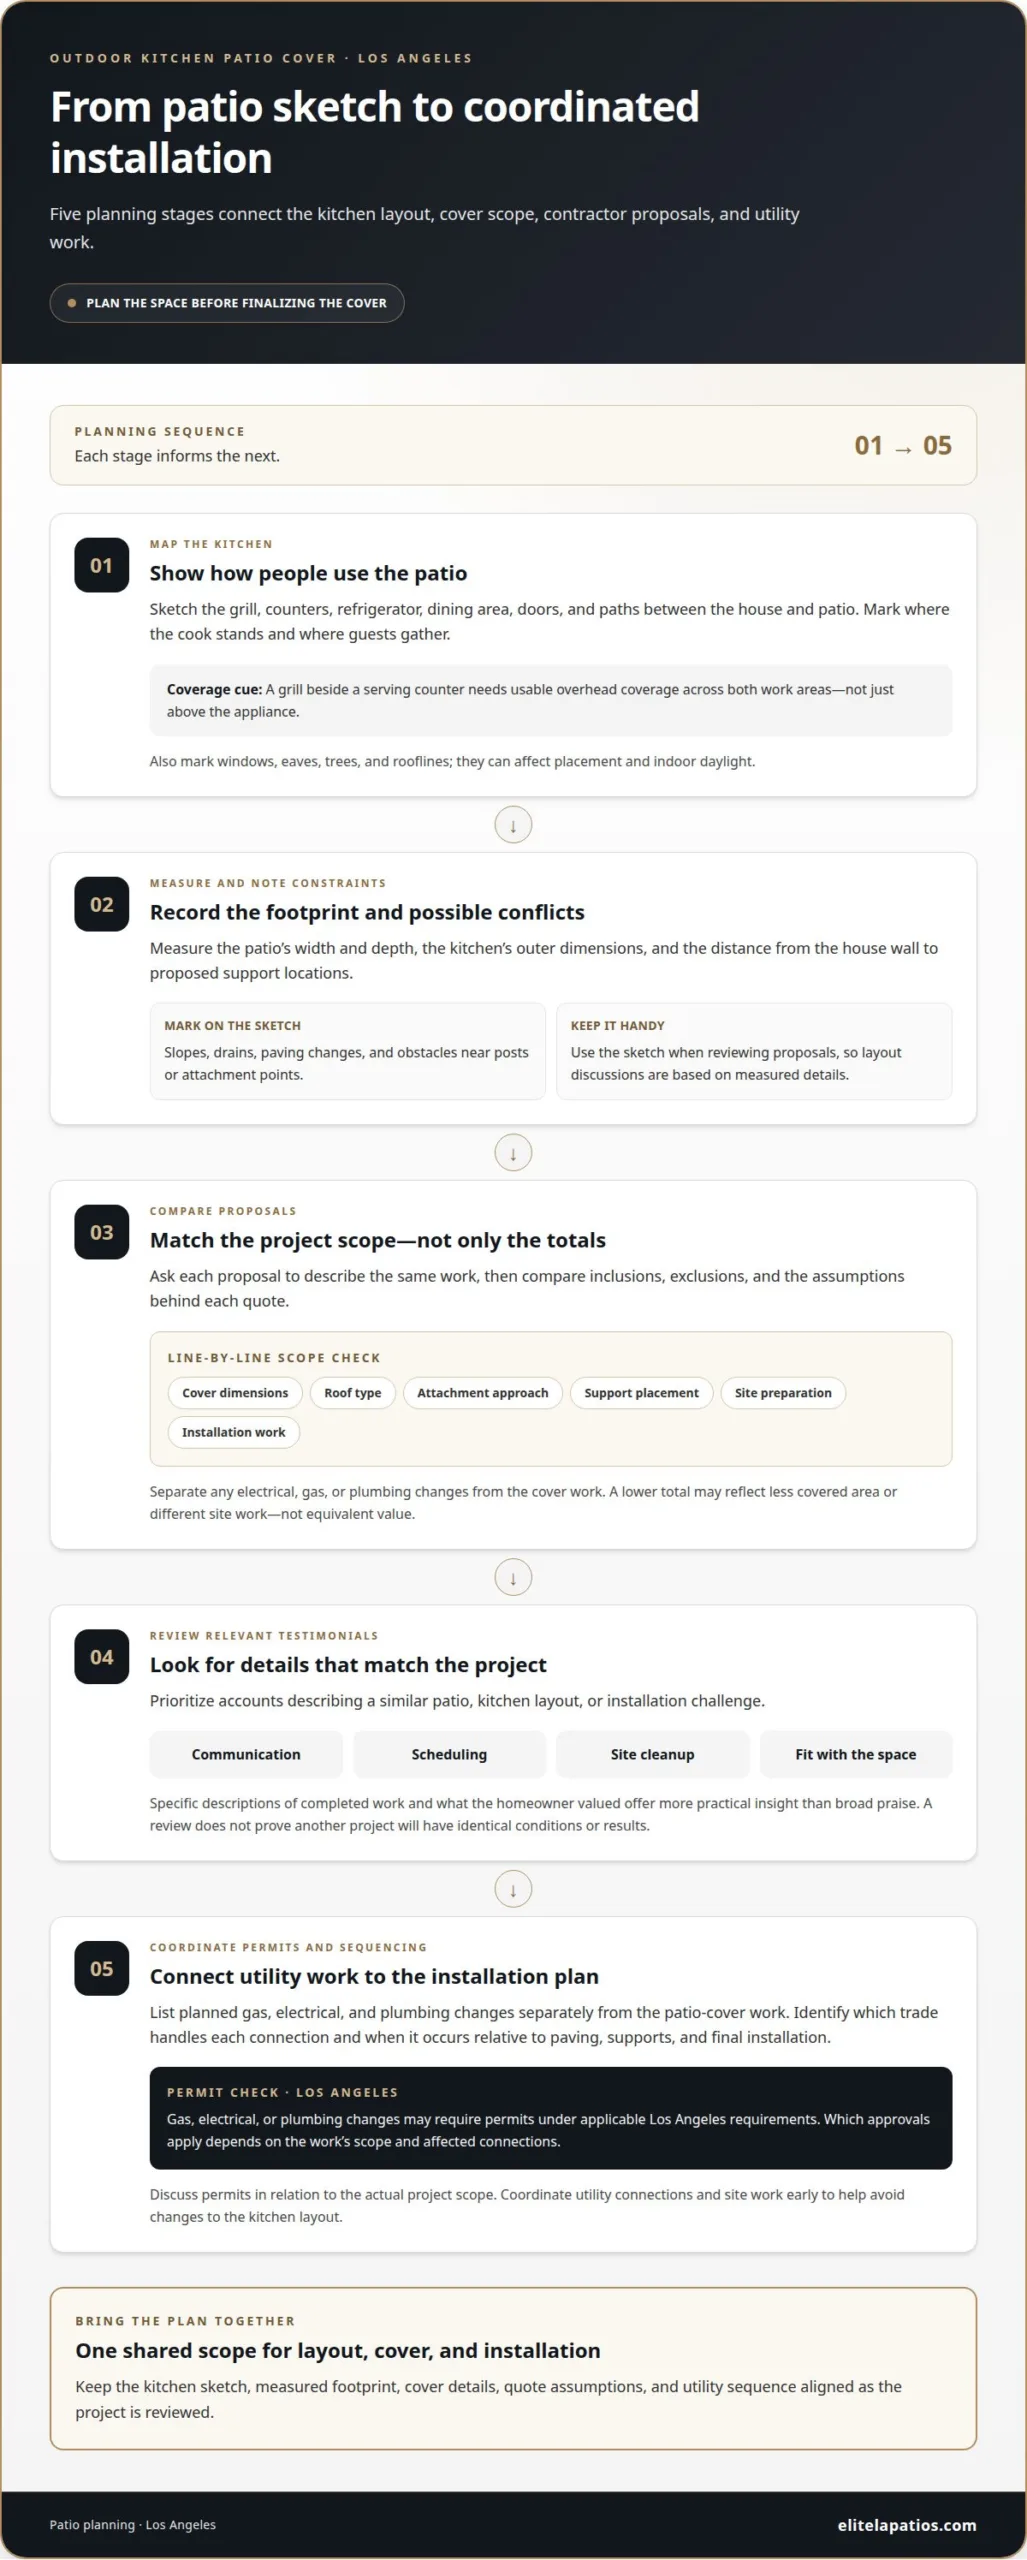
- Map the kitchen before measuring the cover. Sketch the grill, counters, refrigerator, dining area, doors, and paths between the house and patio. Mark where people stand while cooking and where guests gather. For example, a grill beside a serving counter needs usable overhead coverage across both work areas, not just above the appliance. Include existing windows, eaves, trees, and rooflines, which affect placement and daylight.
- Measure the footprint and note constraints. Record the patio’s width and depth, the kitchen’s outer dimensions, and the distance from the house wall to proposed support locations. Mark slopes, drains, paving changes, and obstacles that could affect posts or attachment points. These measurements help an installer discuss a realistic layout instead of relying on a rough estimate from one photo. Keep the sketch handy when reviewing proposals.
- Compare quotes line by line. Ask each proposal to describe the same project scope: cover dimensions, roof type, attachment approach, support placement, site preparation, and installation work. Separate included work from exclusions, especially when electrical, gas, or plumbing changes are part of the wider kitchen project. Compare the assumptions behind each quote, too. A lower total may reflect less covered area or different site work, not equivalent value.
- Review customer testimonials for useful detail. Look for accounts describing a similar patio, kitchen layout, or installation challenge. Specific comments about communication, scheduling, site cleanup, and how the finished cover fits the space offer more practical insight than broad praise. Consider whether the testimonial explains what work was completed and what the homeowner valued. A review does not prove another project will have identical conditions or results.
- Coordinate permits and installation sequencing. List planned gas, electrical, and plumbing changes separately from the patio-cover work. Identify which trade handles each connection and when that work takes place relative to paving, supports, and final installation. Keep permit discussions tied to the actual project scope in Los Angeles. This coordination helps prevent overlooked utility connections or site work from forcing changes to the kitchen layout.
Backyard patio covers
A permit isn’t a universal yes-or-no for every Los Angeles patio project. The answer depends on the proposed structure, site, and associated kitchen work. Include gas, electrical, or plumbing changes in the project scope.
Setbacks, height, and lot coverage don’t have one number that applies to every Los Angeles property. The parcel’s zoning and the cover’s design determine which limits matter, so assess those constraints before fixing the footprint.
- Trace the sun across the actual patio. Note which areas receive direct light in the morning and late afternoon. A kitchen that feels comfortable at 10 a.m. may become too hot by 3 p.m. as western sun reaches the cooking or seating area. West- and southwest-facing kitchens generally need more overhead and side shade than less exposed locations. Use those observations to decide where coverage matters most.
- Plan shade around the whole outdoor routine. Include the cook, guests, and the route between the indoor and outdoor kitchen. For an outdoor kitchen patio cover in Los Angeles, note whether the bar, serving route, and cooking area need shade at different times. A shallow cover can leave the bar exposed when the sun is low. Add each priority zone to a simple patio sketch.
- Balance coverage against openness. An oversized or poorly positioned cover can crowd the patio, block views, or reduce indoor daylight. Mark doors, windows, and sightlines before choosing dimensions. Compare a compact seating corner with the full kitchen footprint: the first may need localized shade, while the second needs coverage coordinated with prep and serving areas.
- Match the structure to daily use. A fixed cover can shield outdoor cabinetry, countertops, and furnishings from UV exposure and occasional rain. If keeping open sky is a priority, consider how another shade option affects circulation and changing sun angles. Retractable awnings should be brought in during high winds. Choose based on the patio’s exposure and how often you use each zone.
- Resolve property constraints before finalizing the layout. Map the proposed cover against property lines, existing structures, and the home’s roofline. For an outdoor kitchen patio cover in Los Angeles, assess the parcel’s zoning and design constraints before settling the footprint. Keep dimensions and kitchen utility work together in the project plan to identify conflicts early.
For a tailored discussion of how the patio layout shapes cover placement, share your outdoor kitchen plans.
In Los Angeles County, plan outdoor kitchen shade around late-afternoon sun. Motorized louvered roof pergolas can be adjusted to admit sunlight, provide shade, or close for weather protection. Retractable awnings extend for shade and retract to restore open sky, natural light, or an evening view.
Premium Sunbrella fabric offers UV resistance and color retention for retractable awnings. Motorized retractable awnings may integrate with apps, Wi-Fi, Alexa, or Google Home. Retractable drop screens can reduce low-angle sun glare, improve privacy, and limit windblown debris, then retract when not needed. Compare these options with the patio’s exposure and routine, including whether overhead or side protection best suits the conditions.
Fixed patio covers
Attached covers connect to the home, creating a sheltered transition from the kitchen to the patio. Freestanding covers stand independently and can shade an island, dining area, or grill zone away from the house. Choose based on the layout, available support locations, and how you want people to move between spaces.
- Choose the cover’s position around daily use. Place it to shelter the cook, guests, and the route between the indoor and outdoor kitchen. A cover centered only over the grill, for example, may leave guests at a nearby bar in direct sun. Sketch the kitchen, dining area, and doorways together, then mark where people gather or carry food.
- Decide whether the home should anchor the structure. An attached cover can create a continuous sheltered route from an exterior door to the cooking area. It suits layouts where the kitchen is beside the home and the wall offers a practical attachment location. A freestanding structure may work better when the cooking or dining zone sits farther into the yard, or when you want the cover positioned independently.
- Assess the patio before selecting an attachment style. Note the home’s exterior wall, roofline, windows, and nearby doors. An attached cover must suit the building and patio, while a freestanding one needs a layout that accommodates its own supports. For either option, consider circulation around counters and seating. A post in a natural walkway can interrupt the route between the kitchen and dining area.
- Use fixed coverage to protect essential surfaces. A fixed patio cover can shield outdoor kitchen cabinetry, countertops, and furnishings from UV exposure and occasional rain. Identify which surfaces need consistent overhead protection. If a preparation counter sits beside the grill, for example, plan coverage for both work areas rather than treating the grill as the only priority.
- Review shade depth against low-angle sun. A cover that is too shallow may leave a bar or seating area exposed as the sun shifts. Compare the planned footprint with afternoon use, then check whether the edge will shade the places people actually occupy. Consider, too, how a larger cover could affect views or daylight in nearby rooms.
- Coordinate the cover with the complete outdoor layout. Mark support locations, counters, walkways, and the dining zone on one plan. This makes it easier to spot conflicts before installation details are set. To explore a fixed-cover layout for your patio, share your outdoor kitchen plans.
Grill clearance, ventilation, and airflow
- Start with the grill’s installation requirements. Identify the exact grill model before finalizing roof placement. Follow its manufacturer’s instructions for required clearances above and around the appliance. Those dimensions vary by model and installation conditions, so don’t rely on a generic measurement. Mark the required space on the patio plan, including nearby walls, counters, and overhead surfaces. This creates a practical boundary for the cover design.
- Keep the roof from trapping heat and smoke. Outdoor kitchen shade structures should preserve grill clearance and ventilation. Smoke and hot air need a path away from the cooking area. A low, enclosed-feeling roof above a grill, for example, can make the space uncomfortable and allow smoke to linger. Plan the cover’s position and openness around airflow through the whole cooking zone, not just above the grill.
- Place the grill in a well-considered part of the layout. Don’t treat the appliance as an isolated point beneath the roof. Note nearby walls, privacy screens, tall cabinetry, and other features that could restrict airflow. A grill beside a high counter may have less open space than one facing the yard. Include these elements in the plan and preserve a clear route for smoke to disperse.
- Separate cooking, prep, and guest circulation. Mark where the cook stands, where guests gather, and how people cross the patio. A serving bar directly beside the grill, for example, can place guests close to heat and smoke. Arrange seating and walkways so people can move between the house and kitchen without crossing the cook’s work area. This layout also helps keep ventilation paths open.
- Review the arrangement from several directions. View the proposed cover and grill placement from the house, yard, and main seating area. Check whether walls, roof edges, or nearby structures create enclosed pockets around the cooking zone. Consider both a breezy day and a still afternoon, since airflow can feel different across the same patio. Revise the layout if smoke could drift toward dining seats or doorways.
- Coordinate clearance with the final installation plan. Keep the grill model, manufacturer’s requirements, roof layout, and surrounding features on the same drawing. If the grill moves, reassess its overhead clearance and ventilation rather than assuming the original placement still works. This final review aligns the cover with the appliance and patio while preserving comfortable movement around the outdoor kitchen.
Insulated patio covers
Choose an insulated roof by weighing year-round shade, local exposure, and how you’ll use the outdoor kitchen. In Los Angeles, account for sun, heat, dust, moisture, coastal air, wind, and occasional rain when selecting materials and planning for weather.
Select Materials for Local Conditions
Compare cover materials against conditions on your property, not appearance alone. Los Angeles patios can face UV rays, heat, dust, moisture, and coastal air, so weigh these exposures alongside the kitchen’s use. An aluminum insulated roof is one option; assess its design and suitability for the project rather than assuming every material performs identically.
Plan Protection from Weather Conditions
Plan for rain runoff, wind exposure, and wildfire conditions as separate concerns. Identify where water could drain, secure loose items during windy conditions, and don’t treat a cover as wildfire protection. Clear nearby dry debris and follow local fire guidance for your property.
- Match roof style to the space’s daily use. An insulated solid roof provides continuous overhead coverage, while a lattice design offers a different balance of shade and openness. Consider whether you mainly use the outdoor kitchen for cooking, dining, or both. A dining area beside the grill, for instance, calls for a roof plan that considers comfort across both zones, not just the appliance.
- Review how the roof meets the house and patio. Identify the roof edge, walls, doors, and nearby windows before deciding where coverage begins and ends. In a compact patio, roof placement can affect indoor daylight and outdoor circulation. Mark the proposed footprint on a layout, then consider how it relates to the kitchen counters and the path from the home.
- Plan drainage before settling installation details. Consider where rainwater should flow from the roof and whether that route crosses a doorway, cooking area, or walking path. Account for the patio surface and nearby landscaping in the drainage plan. This helps prevent runoff from becoming an everyday inconvenience around the outdoor kitchen.
- Prepare for changing wind and wildfire conditions. Remove loose objects that wind could disturb, and keep dry leaves and other debris from accumulating around the cooking space. Don’t assume an insulated roof provides wildfire protection. Consider the property’s surroundings and local fire guidance when planning outdoor use and maintaining the area.
- Connect the material choice to the complete project. Review the roof type, kitchen layout, exposure, drainage, and intended use together. A well-defined plan makes it easier to compare how different roof options suit the home. For a project-specific discussion of an insulated cover, plan your patio cover project.
Elite L.A. Patios: 4K Aluminum lattice patio cover
Elite L.A. Patios can help turn your shade plan into a considered patio-cover design and installation. Our premium aluminum options include lattice, solid twin wall, cantilever, and insulated solid roof systems, giving homeowners different styles to consider alongside their kitchen layout and coverage goals.
For an outdoor kitchen, start with the priorities established in your plan: where shade is needed, how the grill’s clearance and ventilation will be preserved, and whether you prefer an open or solid roof design. These details help guide a product choice that feels integrated with the home and works for the way you use the patio.
Contact Elite L.A. Patios to discuss your outdoor kitchen patio cover plans.
Shape a Patio That Works for You
Turn your preferred layout into a plan that reflects how you want to cook, host, and enjoy your outdoor space. For an outdoor kitchen patio cover in Los Angeles, the right design should complement the home and support how you use the patio every day.
Elite L.A. Patios offers a 4K Aluminum lattice patio cover, 4K Aluminum solid twin wall, and 4K Aluminum Cantilever. These options give you distinct approaches to shaping shade and defining the outdoor setting. Consider which structure best aligns with your preferred balance of coverage, openness, and placement.
Bring your priorities and patio layout together in a conversation about your project. Contact Elite L.A. Patios to discuss your patio cover plans and take the next step toward a more considered outdoor kitchen.
Frequently Asked Questions
What size and layout work best for an outdoor kitchen under a patio cover?
Choose dimensions that fit your appliances, work surfaces, and movement patterns. Leave room to open grill lids and appliance doors without blocking the route between prep and serving areas. For example, map a refrigerator door’s swing alongside the cook’s standing space. In Los Angeles, also consider whether neighboring walls or landscaping could limit installation access or future maintenance.
What ventilation and fire-safety clearances are required for a grill under a patio cover?
Follow the grill manufacturer’s instructions for required clearances; there’s no single measurement for every grill. Keep the planned roof, walls, and nearby furnishings outside those specified zones, and arrange the cooking area so smoke and heat can disperse. A nearby privacy screen, for example, may affect airflow. Include the exact grill model in the design before finalizing the cover.
What is the installation process and timeline for a covered outdoor kitchen in Los Angeles?
Plan the work in sequence: finalize the layout, coordinate the patio cover with kitchen utilities, complete required site preparation, then schedule installation. Timing depends on project scope and the steps involved, rather than following one standard duration. Planned gas or electrical work, for example, may need coordination before cover installation. Keep the final layout and work sequence aligned to avoid late design changes.