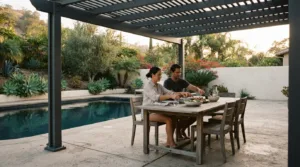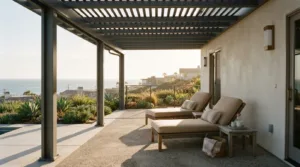
Pool equipment should disappear from view, not from reach. The best approach to how to hide pool equipment is to use a screen that suits the landscape while leaving room for maintenance and airflow. Options include planted borders, hedges, decorative panels, and purpose-built boxes, each arranged to keep the pool area looking composed without blocking access.
It’s understandable to want pumps and filters out of sight, but a solid enclosure can create problems if it’s hard to open or restricts ventilation. The Centers for Disease Control and Prevention advises that pump rooms should be well-ventilated. Choose screens and plants suited to sunny or shaded locations, preserve access for routine care, and use landscape features to make equipment feel like a considered part of the outdoor design.
Key Takeaways
- Blend an equipment screen into the landscape with materials and shapes that complement the surrounding outdoor design.
- Choose plants according to the sun and shade conditions where they’ll grow, and use them to soften the equipment’s appearance.
- Plan the screen or enclosure around convenient maintenance access and adequate ventilation, not appearance alone.
- Use a box or hedge as a visual screen while keeping the equipment reachable and the surrounding area practical to maintain.
- Consider how a patio cover can coordinate with the broader outdoor setting when refining the look of the pool area.
1. Blending a pool equipment wall into the landscape
Treat the equipment wall as part of the pool’s architecture, not as an isolated utility surface. Note its materials, colors, and lines. A pale stucco wall, dark metal gate, or warm stone terrace each suggests a different screen treatment. Repeat a nearby finish, then echo a strong shape through the screen’s height or slat spacing. This visual continuity helps the equipment area recede without crowding the pool surround.
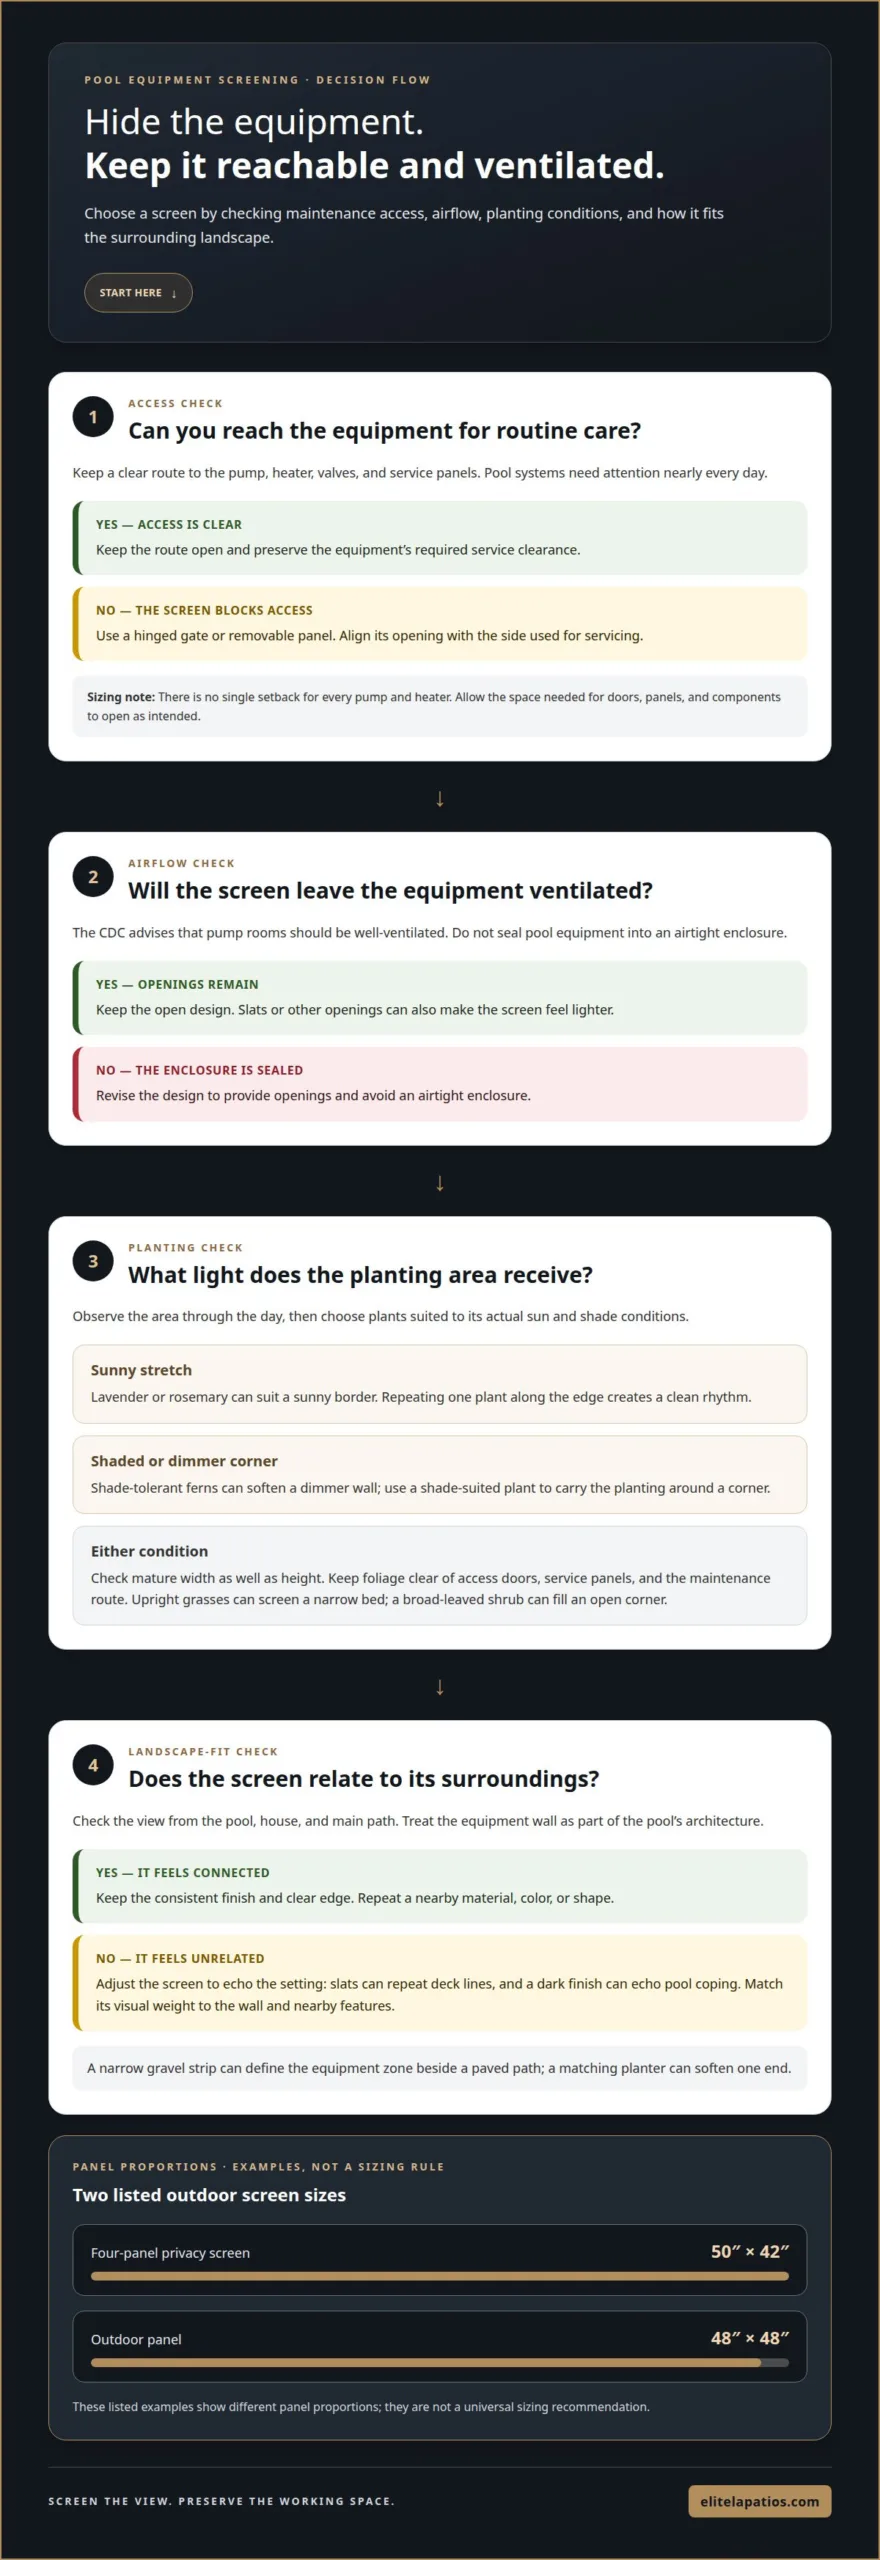
Choose the screen’s scale in relation to the wall and the surrounding features. One listed four-panel outdoor privacy screen measures 50 inches wide by 42 inches high; another outdoor panel measures 48 inches by 48 inches. These examples show how panel proportions can differ, not a universal sizing rule. For a long equipment wall, align panels with its edges or nearby paving joints. For a compact corner, a single square panel can create a cleaner visual boundary.
Connect the screen to the landscape with repeated details. Pair horizontal slats with the lines of a nearby deck, or choose a dark finish that echoes the pool’s coping. A narrow gravel strip can define the equipment zone beside a paved path, while a matching planter can soften one end. A consistent finish and clear edge look more composed than several unrelated screens and containers.
Consider the view from the house as well as the pool deck. Stand at a window overlooking the equipment wall and identify what draws the eye first. A panel across that sightline can screen the machinery while leaving the broader landscape visible. The Centers for Disease Control and Prevention says pump rooms should be well-ventilated, so don’t seal equipment into an airtight enclosure. Openings can also create a lighter, less imposing appearance.
Map the wall, screen, and nearby features before choosing finishes. Match the screen’s visual weight to the wall: a solid-looking backdrop may suit a broad stucco surface, while open slats can feel more integrated beside a light, airy patio. Check the view from the pool, house, and main path. These steps help the equipment zone feel planned, rather than like an afterthought.
That history can help frame the design process without turning the equipment area into a separate project. The homeowners moved into their California fixer-upper 7 years before recounting their pool-equipment landscaping experience. A screen can be considered alongside the finishes and planting already present, with attention to how it appears from everyday viewing points. Rather than adding competing elements, keep the treatment legible and let its materials relate to the nearby hardscape.
Before settling on a screen, consider how it meets the ground and nearby edges. A deliberate transition connects the equipment zone to the pool setting, while openings preserve a sense of airiness. Check that the screen looks appropriate from the house and path, not just up close. If a finish or shape feels unrelated to its surroundings, revise it rather than adding decoration. The goal is a calm visual transition: the equipment stays screened and the landscape retains its continuity.
2. Hiding pool equipment with plants suited to sun and shade conditions
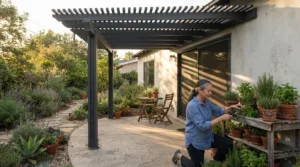
Observe the planting area throughout the day. A spot beside a sunny pool deck needs different plants from a shaded corner beneath a roof or mature tree. Match plants to the light they receive, placing foliage to screen the equipment without crowding service panels. Lavender or rosemary can suit a sunny border, while shade-tolerant ferns can soften a dimmer wall. Check mature width as well as height, so planting screens the view without swallowing the equipment zone.
For a deliberate layout, divide the area by light conditions before choosing plants. Mark the sunniest stretch, partial shade, and darkest section, then select plants for each location. Repeating one plant along the sunny edge creates a clean rhythm; a shade-suited plant can transition around a corner. This avoids a mismatched row where one plant thrives and another becomes sparse. It also lets foliage work with the wall rather than appear as a separate screen.
Pool pumps and heaters can be audible, but concealment shouldn’t focus mainly on muffling sound. Prioritize a clear sightline, convenient access, and planting that doesn’t crowd the equipment. Dense growth packed around machinery is not a substitute for a suitable equipment enclosure.
Use plant form to shape the view. Upright grasses can create a soft vertical screen along a narrow bed, while a broad-leaved shrub can fill an open corner. Keep lower foliage in front of the wall and taller forms toward its ends, so planting frames rather than overwhelms the equipment. Contrasting fine grass blades with broad leaves adds texture without requiring a complicated mix.
Leave practical space between foliage and equipment. Keep plants clear of access doors and service panels, and branches clear of the route used for maintenance. A low border can guide the eye toward the pool while leaving the working side open. In a compact bed, choose fewer plants with distinct forms instead of squeezing in a dense row.
Finally, view the planting from the pool, patio, and house windows. Adjust the arrangement if a gap reveals the equipment from a frequently used seat. To coordinate the planting with a broader outdoor layout, discuss your patio design with the team.
3. Keeping pool equipment accessible
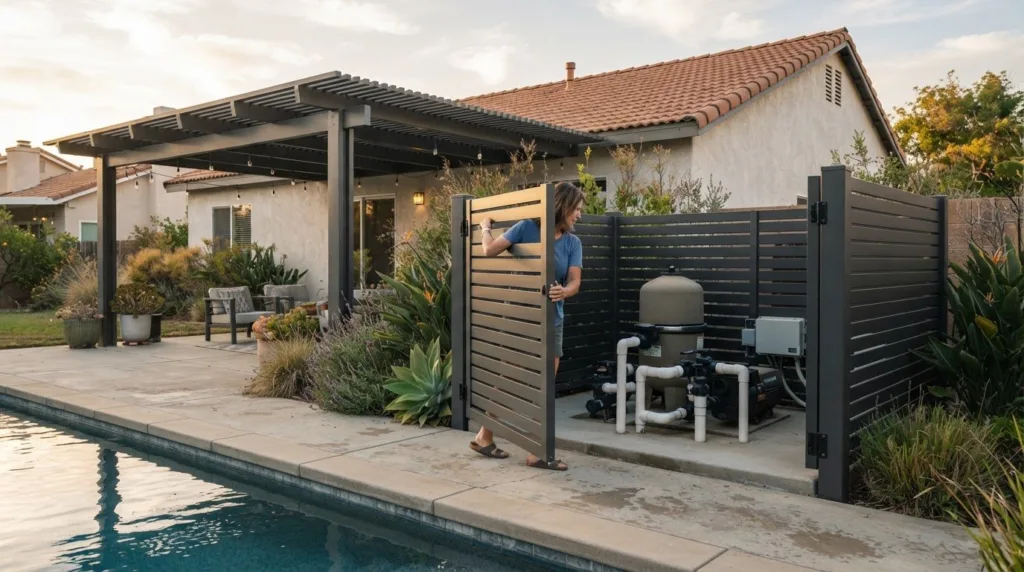
A screen should conceal equipment without turning routine maintenance into a removal project. Pool systems need attention nearly every day, so preserve a clear route to the pump, heater, valves, and service panels. A hinged gate or removable panel can screen the machinery while allowing access to the controls. Align the opening with the side used for servicing.
There’s no single setback that suits every pump and heater. Position the enclosure beyond the equipment’s required service clearance, allowing doors, panels, and components to open as intended. The space needed depends on the equipment layout and access points. A wall beside a pump may need a different opening from a screen in front of a heater, so plan around the actual service side.
Choose a design that allows air to move through the screened area. Open slats, spaced panels, or a gate with ventilation gaps can conceal equipment without creating a sealed box. The Centers for Disease Control and Prevention says pump rooms should be well-ventilated. Keep vents clear of planters, stored items, and overhanging foliage, and don’t block the equipment’s ventilation openings.
An enclosure fitted too tightly can restrict airflow and make service access awkward. A technician may struggle to reach a valve or remove a panel, and blocked openings undermine ventilation. Don’t place a fixed planter across a service door or position a screen so close that the door cannot open fully. The finished view should never come at the expense of access.
Map the equipment’s working area before settling on the screen location. Note which panels open, where valves sit, and how a technician approaches the pump and heater. Mark the screen’s footprint, then test the route with any gate or panel open. This walkthrough can reveal conflicts that aren’t obvious when viewing the closed enclosure.
For a refined solution, prioritize appearance and access over muffling equipment noise. A well-positioned screen can soften the view while leaving the service area usable. Keep the path clear of decorative pots and furniture, and make sure routine tasks don’t require moving landscape features. These choices help keep the pool setting orderly and the equipment reachable.
Keep the enclosure practical for routine access, so pool equipment remains reachable. A pool needs attention nearly every day, and that should guide the final placement.
4. Using a box to conceal pool equipment
A box-style screen can give a compact pool equipment area a clean, finished edge. To hide pool equipment, choose a box that complements nearby surfaces without sealing off the machinery. Consider painted panels beside stucco or slatted metal near a paved deck. Wood, metal, and composite are common screen material categories, but the right choice depends on the setting and desired appearance. Include openings rather than treating the structure as a sealed cabinet.
Size the enclosure around the equipment’s footprint and service points. Note where the pump, heater, valves, and removable panels sit. Allow access doors to open and leave a route to the controls. A hinged front or removable side can screen the equipment during everyday use and simplify maintenance. Don’t place a fixed planter or heavy decorative object in front of the opening.
Ventilation and clearance depend on the specific pump and heater, so there isn’t one spacing measurement for every enclosure. Follow the equipment manufacturer’s clearance instructions, keep ventilation openings unobstructed, and leave enough room to reach service panels. Open slats or vented sides can conceal equipment while allowing air to move through. A solid, tightly fitted cover can obstruct airflow and complicate access.
Consider the location before choosing the box shape. A narrow rectangular enclosure may sit neatly against a wall, while a freestanding design can screen equipment beside a walkway. Align a slatted box with the patio edge, for example, while keeping its access side facing the service route. This creates a deliberate visual boundary without forcing maintenance through a cramped corner.
Material, dimensions, finish, and construction all affect an enclosure or screen’s cost. The price depends on the project, including the enclosure’s size, materials, and design details. A simple, open-sided box and a larger custom enclosure involve different requirements, so start with the equipment layout and surrounding pool area.
A box is one practical way to hide pool equipment while preserving access. Before finalizing its position, open every panel, reach the controls, and confirm no vent is covered. This walkthrough can reveal conflicts between the enclosure, nearby paving, and equipment before the screen becomes a permanent feature.
5. Using a hedge to screen pool equipment
A hedge can soften a long equipment wall and connect it visually to the garden. Plan its position around the pool’s sightlines, then use a continuous row to hide the wall from a patio or window. One California homeowner described an overgrown plant concealing a pool equipment wall that was about 30 years old. The example shows how foliage can obscure equipment, but unchecked growth can make a tidy landscape look neglected.
Local building codes or HOA rules may regulate screens through requirements for placement, height, or materials. Rules vary by location and community, so review applicable local requirements and HOA covenants before planting or building. This can help prevent a mature hedge from conflicting with a property’s design guidelines or approved landscape plan.
Choose hedge plants according to sunlight and shade, then consider their mature size. A sunny strip beside an open deck calls for different choices than a shaded side yard. Don’t select plants only by their height at purchase; their eventual width matters beside pumps, heaters, and service paths. Leave room for growth so branches don’t press against equipment or obstruct access.
Use the hedge as a visual screen, not as a wall packed against the machinery. A planting row along one side can hide equipment from the main seating area while leaving the service side open. A short return at the hedge’s end can block a direct view from a lounge chair without enclosing the entire equipment pad.
Keep the outline deliberate with regular pruning. Trim the face visible from the pool, while preserving a clear route to valves and access panels. Remove branches that cover vents or make maintenance awkward. If the equipment is near a walkway, shape the hedge away from the walking line rather than letting foliage spill across the path.
Before planting, mark the hedge line and view it from the house, pool, and patio. Adjust the planting position if the equipment remains visible from a key seat or if the service route feels cramped. A well-planned hedge can frame the equipment area while keeping the landscape composed. Discuss your outdoor design with Elite L.A. Patios to explore how a patio setting can complement your poolside landscape.
Elite L.A. Patios
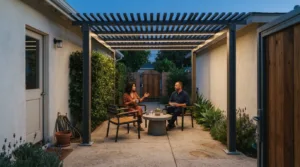
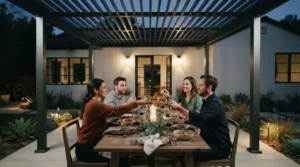
A poolside landscape feels more complete when its shade structure works with surrounding screens and planting. Elite L.A. Patios designs and installs outdoor structures that can help define a cohesive patio setting. Its patio covers don’t replace a screen or enclosure around pool equipment. They can, however, contribute to a considered layout by giving the seating area a distinct architectural presence.
The right cover depends on the atmosphere you want around the pool. An aluminum lattice patio cover offers an open, structured look, while an aluminum solid twin wall creates a more continuous overhead surface. For an expansive area, a cantilever aluminum cover is another option. These distinct forms give homeowners different ways to shape the patio around existing landscape features.
For a more enclosed overhead design, consider an insulated solid aluminum roof. Each option can be considered in relation to the home’s architecture, patio layout, and the pool’s sightlines. For example, a lattice cover may suit a setting where an open visual character matters, while a solid roof may better match a preference for a more substantial overhead element. The design should feel connected to the property, not separate from it.
Elite L.A. Patios is a relevant next step when planning a patio update alongside a pool-area refresh. Share your layout, including where the equipment screen, seating, and main walkways sit. Those relationships help frame the custom cover choice and show how the structure can complement the wider outdoor composition. For homeowners in Los Angeles County, Orange County, Ventura County, and San Diego County, a cohesive plan considers both the view from the house and how people move through the patio.
Discussing the project early can also help clarify which cover style suits your priorities. Think about whether the patio needs an open architectural feature, a solid overhead surface, a cantilever design, or an insulated solid roof. Elite L.A. Patios can help you explore its patio cover offerings and design an installation around the outdoor setting. The result should support a polished, functional patio without confusing the cover’s role with equipment screening.
If you’re planning a poolside patio or refining an existing outdoor layout, contact Elite L.A. Patios to discuss your project.
Shape a More Considered Poolside Retreat
A thoughtful plan for how to hide pool equipment can be the starting point for a more unified outdoor space. Consider how the pool area should feel as a whole, not simply how to screen one view. A refined landscape can support quiet mornings, relaxed gatherings, and everyday life while keeping practical needs in view.
As you shape that vision, consider how the poolside setting relates to the patio and the surrounding architecture. A cohesive design brings those elements together without making the equipment the focus. The next step is to turn your preferences into a clear direction for the space.
Start planning your outdoor project with Elite L.A. Patios, and take the next step toward a poolside retreat that feels distinctly yours.
Frequently Asked Questions
How to build a DIY pool equipment enclosure step by step?
Plan the enclosure around the equipment layout before assembling any panels. A practical sequence is:
- Measure the equipment area and identify service doors, controls, and vents.
- Choose outdoor-suitable materials and a design with open sections.
- Position the frame so panels can be opened or removed for maintenance.
- Check that the finished enclosure doesn’t obstruct equipment access or airflow.
For example, a hinged front can screen a pump while allowing access without dismantling the structure.
Can landscaping or plants safely screen pool equipment?
Yes, plants can screen equipment when foliage doesn’t obstruct vents, controls, or service access. Place a planted border along the equipment area’s visible edge rather than surrounding every side. Choose plants suited to the light conditions and account for their mature size. Regular trimming helps keep branches from spreading across access routes or covering equipment as they grow.